Paint, some of you may cringe when you hear that word because the thought of picking paint colors sends your mind into a whirlwind with so many options you don't know where to begin! I can honestly say, I feel your pain. As a designer I always found it easy to choose paint colors, after all it isn't permanent!
No, it's not permanent, however none of us want to spend day in and day out repainting a room because we totally missed the mark nor do we want to spend our hard earned money paying someone to do it! Therefore, the seemingly easy task of choosing a color has now become a daunting nightmare because you're afraid to choose the wrong color. You aren't alone I ran into the same conundrum when choosing paint for our new house.

Alaskan Skies will be carried into the hallway, mudroom as well as the two guest bedrooms.
Master Bedroom
Trim & Ceiling

No, it's not permanent, however none of us want to spend day in and day out repainting a room because we totally missed the mark nor do we want to spend our hard earned money paying someone to do it! Therefore, the seemingly easy task of choosing a color has now become a daunting nightmare because you're afraid to choose the wrong color. You aren't alone I ran into the same conundrum when choosing paint for our new house.
The outside color scheme was a no brainer, the colors on siding are limited to about 20, but paint, the colors are endless with paint. You want blue? Okay do you want a true blue, gray-blue, purple-blue, pale blue, pastel blue, green-blue? I don't know I JUST WANT BLUE! Not so easy, and neither was it to choose paint colors for our home. The choice became a little easier when I found out that professional painters charge more if you have more than one color. I was appalled, well not really, but there is NO way I am painting my house one plain, beige, boring color! (Apologies to those who may have chosen beige as their one color.) I found it most difficult to select colors, because we aren't living in the space yet. I know I want it to be cozy and homey but I don't want to go too far from neutral because we haven't chosen all our furnishings and accents.
So, I narrowed it down to five colors, went to the store and picked up some larger samples and taped the samples to the wall at the house. I recommend everyone do this when choosing paint colors. Leave the samples up there for a couple days so you can observe what the color does with different light. You want to know how it looks in natural light, what it looks like when it's overcast, what the color does when you have just incandescent lighting or LED lighting, and lastly what it looks like with other colors in the room, like furniture, cabinetry or tile. I narrowed down those five colors to three and left them for another couple days just to make sure!
Without further ado, here are the three paint colors I chose along with one trim/ceiling color, and two door colors.
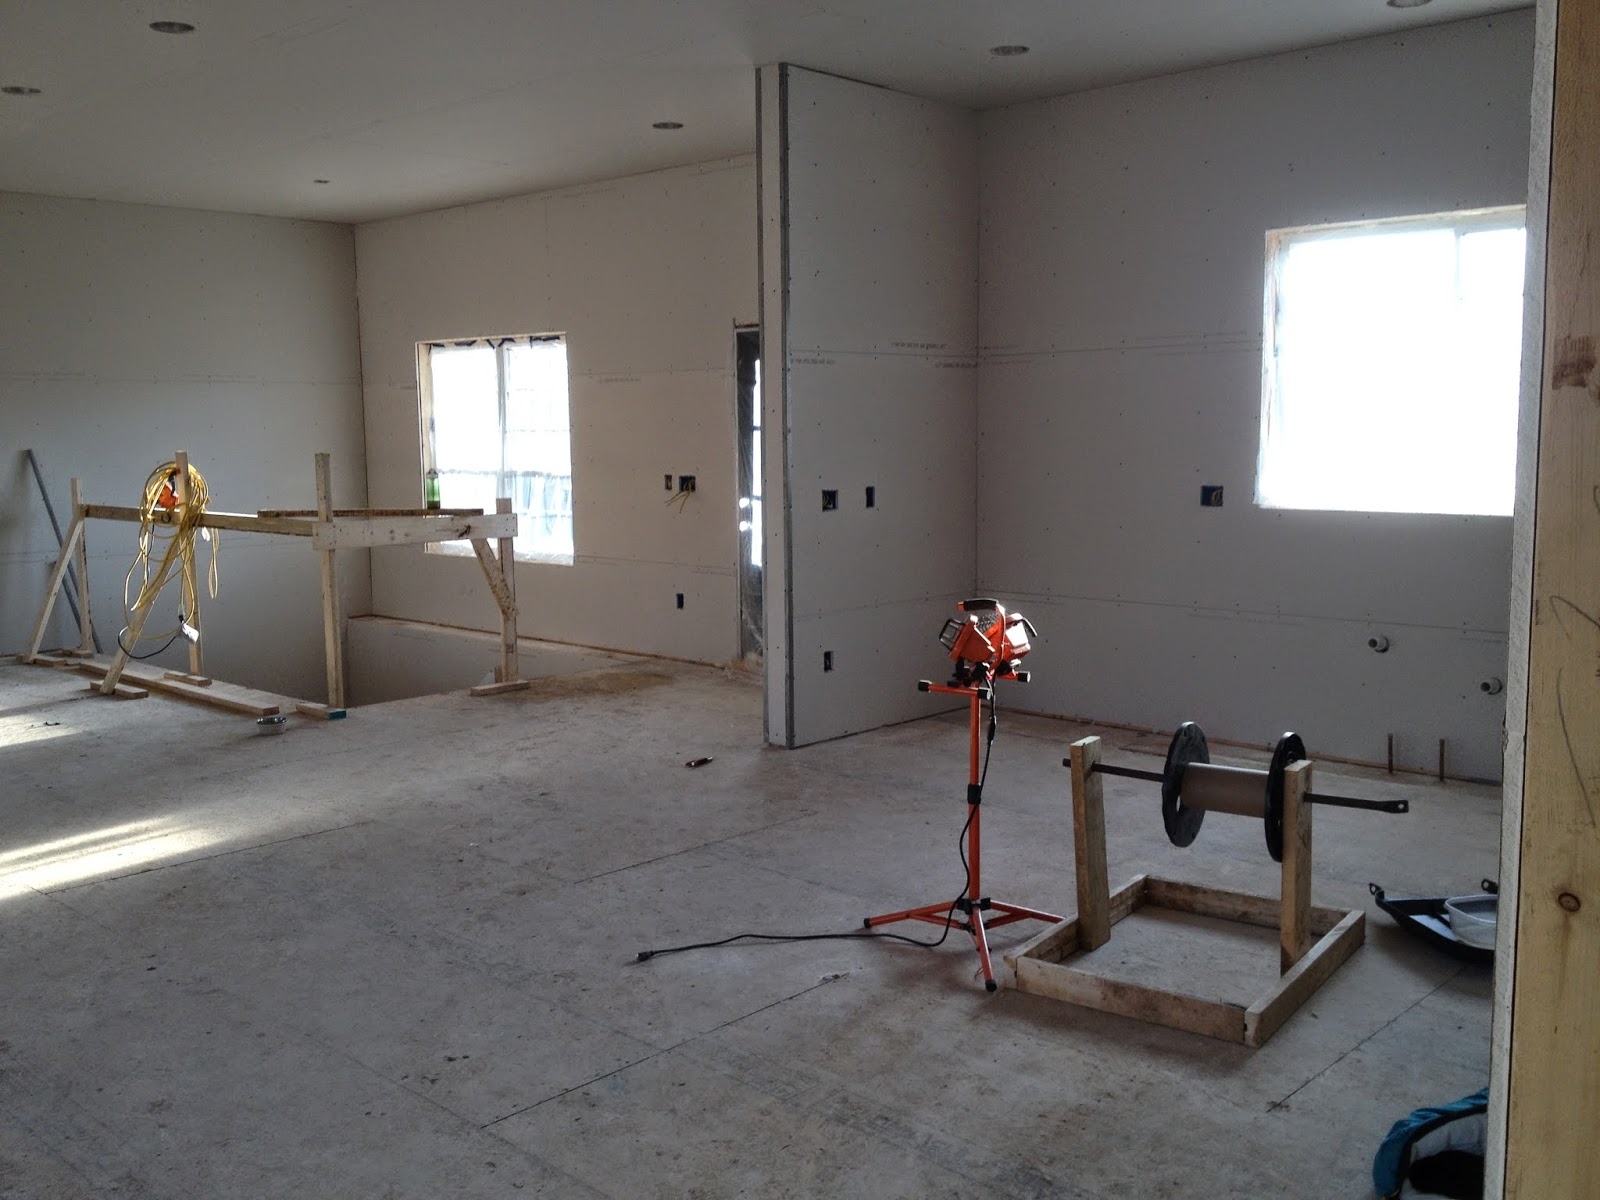
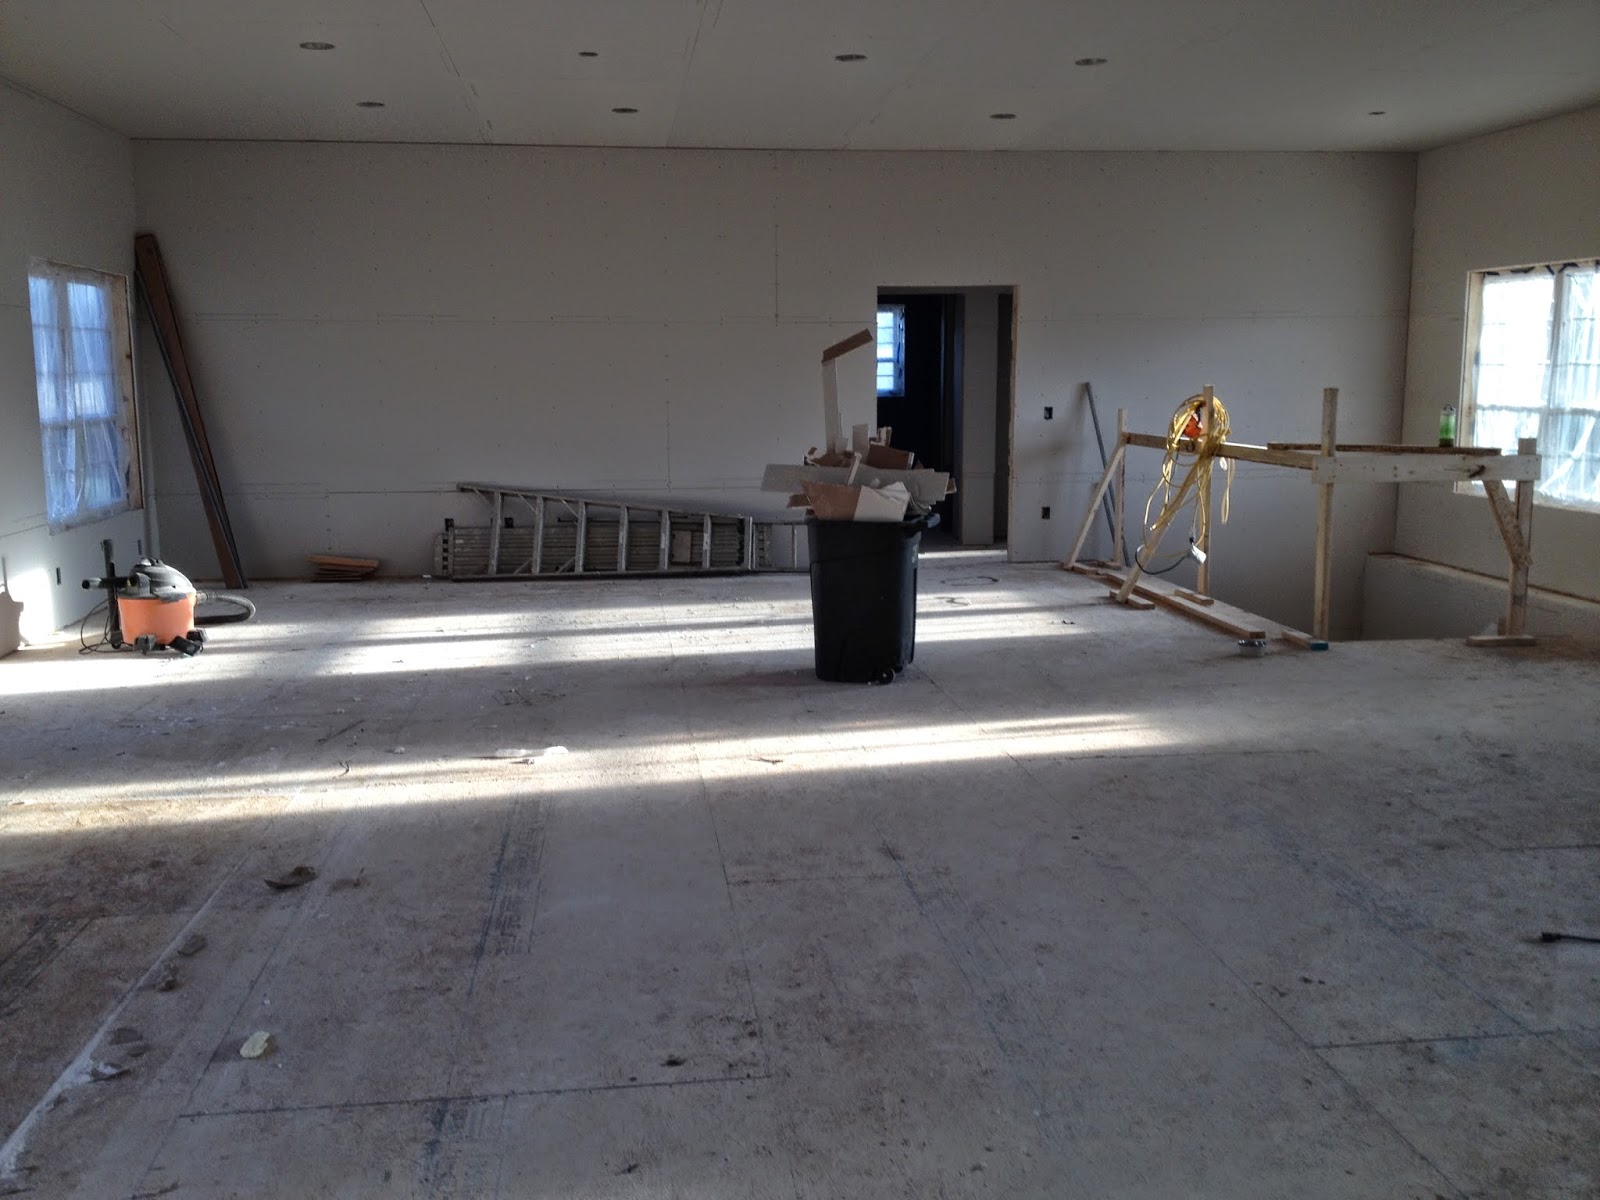
Kitchen/Dining, Living Room & Stairs
This space is all open, therefore I chose one color for the entire space. I did want a second color on the front entrance wall, but since extra colors cost more, I decided I could paint that later.
 |
| Benjamin Moore Alaskan Skies |
 |
| Kitchen: Upper Cabinets and all Tall Cabinets |
 |
| Kitchen: Base Cabinets |
Second Bath & Master Bath
In the second bathroom and master bathroom we went with a light shade of gray.
Both spaces have a lot of white, especially the second bath, which is full of white tile and white plumbing fixtures, therefore a bit deeper shade will give a little contrast and allow the tile to be the star.
 |
| Benjamin Moore Light Pewter |
Master Bedroom
For the master bedroom we have gone a few shades darker than the Light Pewter. Light Pewter will be on the tray ceiling, but for the wall we chose Smoke Embers. Slightly darker, however the space is flooded with natural light and I wanted it to feel a bit more cozy!
 |
| Benjamin Moore Smoke Embers |
For all the trim we selected to paint it. Had we been able to find and purchase an old barn or house and been able to use the wood from it for trim, we would have elected to have a natural wood finish. However, that was not in the cards, we did purchase some great reclaimed beams I'll talk about those another time, so painted trim it was. I chose a creamy white for the trim and ceilings, Benjamin Moore White Dove.
(I have tried to upload a picture of this, however when downloaded it transfers as a darker gray white, which is not its true color. Therefore, if you really want to see the color, visit your local Benjamin Moore Supplier or google it!)
Doors
All of our exterior doors are black. Our front door we had pre-finished at the factory, but the other four will be painted by our painter. They will receive several coats, at least three, of Sherwin Williams, Tricorn Black.
 |
| Sherwin Williams Tricorn Black |
Our Interior doors, well we went a different way than most people would. Typically interior doors are painted the same as your trim color. This is a trend and not a rule so we "broke" the rule and chose to have our interior doors prefinished in the factory with a different color than our trim. SO EXCITED! I despise painting doors, you always see drips or brush marks.
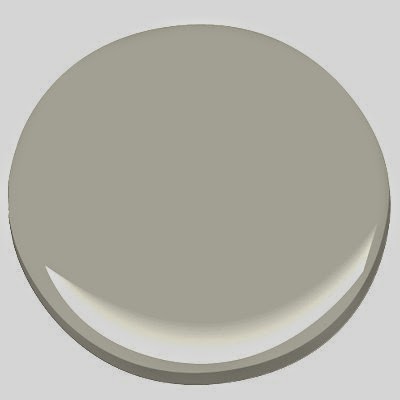
 |
| Sherwin Williams Roycroft Pewter |
There you have it, the paint for our farm house. Neutral for now. I plan on painting the guest bedrooms at some point, but wanted to wait until we were living in the space.
What do you think of our color palette? Which one is your favorite? Would you do painted trim or natural wood trim?
P.S.
Looking for an Interior Designer? Check out our design services page. There is something there for everyone and every budget. Let us take the guess work out of design for you!