About seven years ago my husband and I bought our first home. A quaint split-level home, on a corner lot, with a white picket fenced back yard, perfect for a dog to run and play! The inside was in good shape, but needed some updating. Most of the rooms took a quick layer of paint and they looked like new! However the kitchen was a different story and it became our first project. As you walked into the kitchen you were almost blinded by the white, white floors, white cabinets, white walls, white ceiling and white appliances. Don't get me wrong, I love white and bright, but all this white was accented by baby blue, laminate countertops and some horrible floral wallpaper, that by the way would not come off. (I just painted over it. I tried to remove it, but there were layer of paint and wallpaper underneath it. It wasn't a battle I wanted to fight. With a little quick drying joint compound, a quick sanding and priming, it was ready for paint.)
{Before}
 |
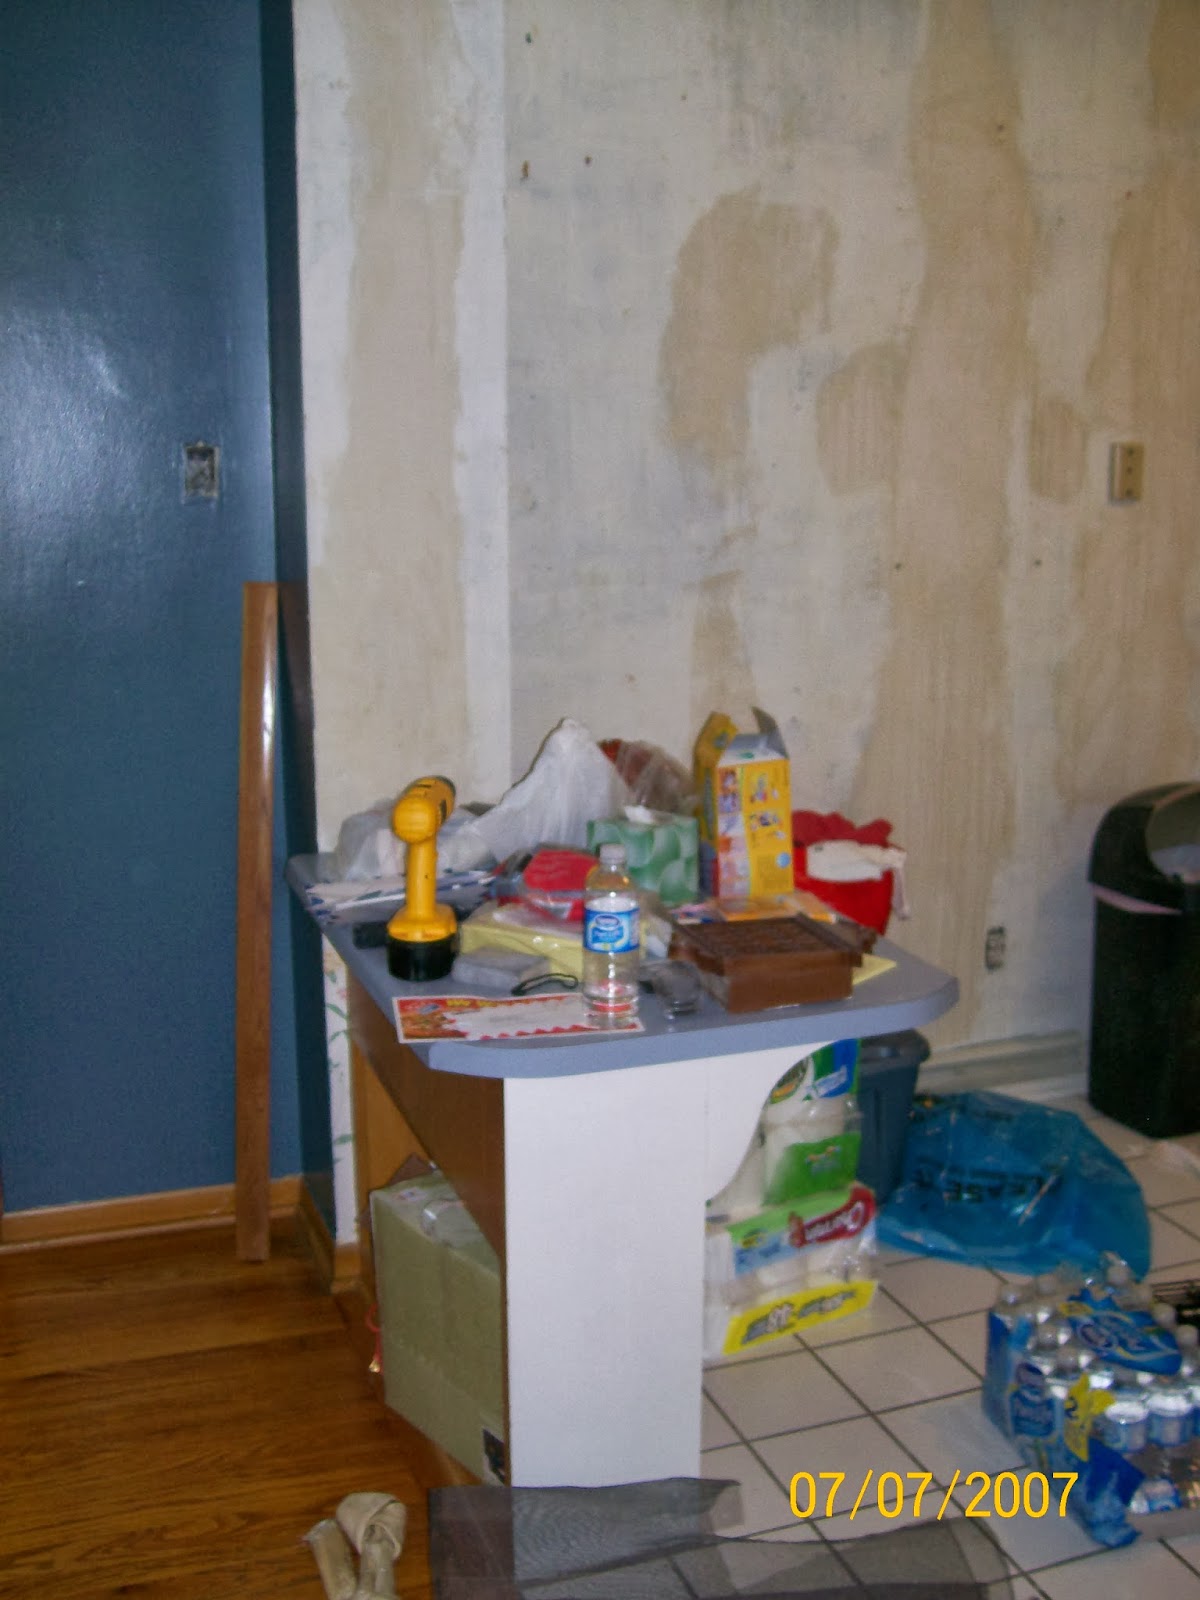
| Tacky wallpaper and white tile floor. Oven/micro combination wall cabinet becomes a pantry. |
 |
| The stove top is moved to an island and the hood area becomes a display shelf. Look at those countertops! |
 |
| Same view, but this one shows a corner of the peninsula cabinet that was just, well plain awkward and in the way! |
 |
| Some of the wallpaper was removed, but it took F O R E V E R! So we opted not to remove it above the cabinets. Oh and see the carpet on the stairs, it was removed and the stairs were refinished to natural wood tones. |
 |
| Another look at the awkward peninsula. |
 |
| I can't tell you how old these appliances were, but they were monsters and I was afraid to use them! Moving the stove top to the island provided more counter space and we were able to install a drawer to organize cooking utensils and silverware. |
Fortunately, my husband being the master craftsman he is, was able to update our kitchen for about $12,000.
{1}
The first thing that had to go was the white floors. You could see every spec of dirt, every food crumb, every dog hair and every spill that had dirt stuck to it. And I cleaned it... ALL. THE. TIME! My husband broke up and removed all the old floor tile (not easy, not clean and not fun). He then laid a new porcelain tile that resembled the look of travertine. Also removed was a peninsula cabinet/counter that was between the dining room and the kitchen. It made sense to remove it and add an island.
{2}
Second, he constructed new cabinet faces and doors, built a kitchen island that would house our oven and stove top and retiled the entire floor. The biggest reason we saved a lot of money was doing the work ourselves, we all know DIY is cheaper than contracted labor. Aside from doing it all ourselves, we salvaged the "bones" of the kitchen. Re-using the cabinet frames and refacing them was a huge savings.
{3}
Third, he built an island so that we could move the oven and stove top there. This freed up a lot more counter space and gave us room to have a small built in pantry.
{4}
Fourth, custom cast concrete countertops (say that five times fast). These countertops turned out amazing and it was fun to follow the whole process. It's not a job for a beginner, but there is so much information out there about how to do it. This saved us about $2500. He also retrofitted our old stainless steel sink. In the old kitchen the sink was a drop in, but we wanted an undermount. An undermount looks prettier, is deeper and solves the problem of the scummy buildup around the sink lip. This also saved us about $500 because we didn't have to buy a new sink.
{5}
Fifth and last, we installed a backsplash. A combination of black slate and honed travertine laid out in a checkered pattern. It really complimented the countertops and the cabinets. We painted the wall a neutral, cool gray, added some wall shelves for display and a wine rack and we were back in business. We also changed out all the trim on the main level and added crown molding in the kitchen, dining room and living room.
{After}
 |
| Looking into the kitchen from the dining room. An antique butcher block lended itself to the plan for the island. The kitchen is L-shaped with a tall pantry off one end and the fridge anchoring the other end. Dental molding adds the finishing touch to the new cabinets. |
 |
| Looking from the kitchen into the dining room. We covered the old wood paneling with wall liner (much like paintable wallpaper.) The chair rail was added to give a more traditional feel since we don't have a formal dining room. |
 |
| Another view of the dining area and the custom countertops. We love the concrete because it adds character. If you don't like the different colors and the unevenness, than concrete probably isn't the material you want to use. (Oh and the dog slipped in this picture. That's Kota, our German Shorthaired Pointer/Mix) |
Wow, looking back at this transformation brought back a lot of memories! If you have any questions about what or how we did anything please ask!


No comments:
Post a Comment